
Introduction
As the leaves turn to brilliant shades of amber, crimson, and gold, the beauty and warmth of autumn envelops us, inviting us to embrace the cozy atmosphere of this enchanting season. With the crisp air and the scent of woodsmoke in the breeze, autumn feels like a gentle hug from nature, encouraging us to gather with loved ones and create an inviting space at home. One of the most beloved symbols of this season is the wreath—a circular decoration that represents the cycle of life and the changing seasons.
Wreaths have long held a special place in home decor, serving not just as a festive adornment but also as a heartfelt welcome to all who enter. They bring a touch of nature indoors, reminding us of the beauty that surrounds us even as we begin to retreat into the comfort of our homes. This article will take you on a delightful DIY journey to craft the perfect cozy wreath for your home, enhancing both your space and your crafting experience.
“Creating a cozy reading nook is all about maximizing comfort in a small space. It’s about intentional design that serves both function and feeling.”
– Interior Design Magazine
Understanding the Essence of Autumn Wreaths
Wreaths have a rich history, often symbolizing eternity due to their circular shape, which has no beginning or end. In the context of autumn, wreaths embody the transient beauty of the season, celebrating the bountiful harvest and the transition into winter. They are a reminder to appreciate the present moment, to cherish the changes that come with each season.
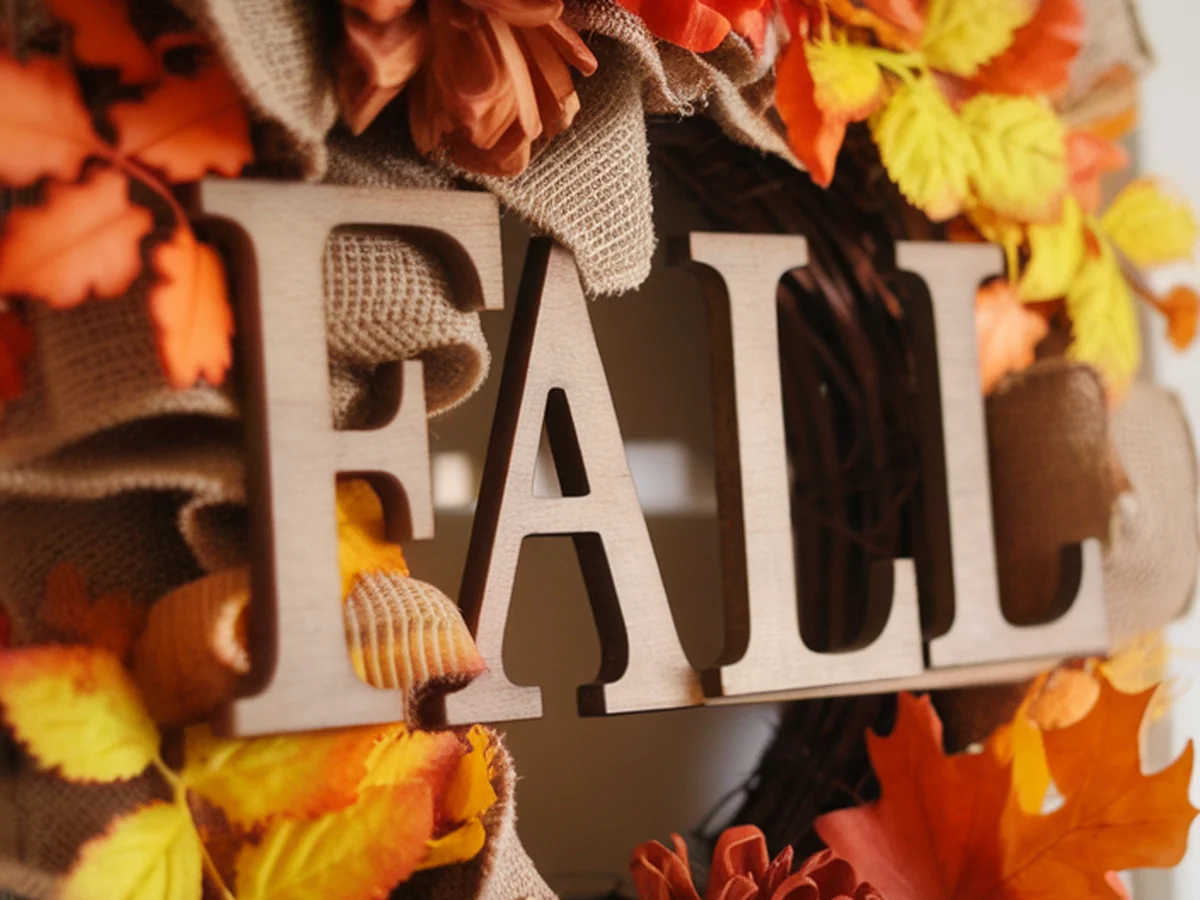
When crafting an autumn wreath, common materials evoke the essence of fall. Think of vibrant leaves that have fallen from trees, the rustic charm of pinecones, and the bright pops of color from berries. These natural elements create a visual feast that reflects the season’s richness. As you hang your wreath, it can evoke feelings of comfort and coziness, making your home feel like a sanctuary amidst the changing world outside.
Gathering Your Supplies
Before you embark on your wreath-making adventure, you’ll need to gather your supplies. Here’s a comprehensive list of essential materials for crafting a beautiful autumn wreath:
| Material | Description | Usage |
|---|---|---|
| Wreath Base | Options include grapevine, foam, or wire bases. | Provides structure for your wreath. |
| Decorative Elements | Faux leaves, ribbons, acorns, and berries. | Add color and texture to your design. |
| Tools | Scissors, glue gun, wire cutters. | Essential for cutting and securing materials. |
You can find these materials at your local craft store, or if you’re feeling adventurous, take a nature walk to collect some natural elements. Look for interesting twigs, colorful leaves, and even small pinecones to add to your wreath. Online shopping is another convenient option, with many retailers offering seasonal crafting supplies.
Choosing Your Wreath Style
When it comes to wreaths, the style you choose can greatly influence the overall ambiance of your home. There are various styles to consider:
- Traditional: Features classic elements like dried flowers, leaves, and natural colors.
- Modern: Focuses on sleek lines and minimalism, often incorporating geometric shapes.
- Rustic: Utilizes natural materials and a more organic look, perfect for a cozy cabin feel.
The color palette is also crucial in embodying the spirit of fall. Think warm tones like burnt orange, deep red, golden yellow, and earthy browns. You can choose to go monochromatic or mix contrasting colors for a vibrant look. Additionally, consider themes that resonate with you, such as a harvest theme with pumpkins and corn, a woodland theme with natural elements, or even a playful Halloween vibe with spooky decorations.
Crafting Your Wreath Step-by-Step
Now that you have gathered your materials and decided on a style, it’s time to start crafting your wreath. Follow this step-by-step guide to create a stunning autumn decoration:
1. Prepare the Base: Start by securing your wreath base, whether it’s a grapevine, foam, or wire. If using a foam base, you may want to wrap it with burlap or twine for texture.
2. Arrange Decorative Elements: Lay out your decorative elements to visualize the final design. Start with larger pieces, such as faux leaves and branches, and then fill in with smaller items like acorns and berries.
3. Attach Elements: Using your glue gun, attach the decorative elements to the base. Be sure to work in layers, gluing larger elements first and then adding smaller ones for depth.
4. Add Finishing Touches: Once everything is secured, add ribbons or ornaments to enhance your wreath. This could be a lovely bow made from plaid fabric or a few tiny pumpkins for that extra autumn flair.
5. Ensure Balance: Step back and assess the wreath’s overall appearance. Make adjustments as needed, ensuring that it is visually appealing and balanced.
Personalizing Your Wreath
This is your opportunity to really make the wreath your own! Personal touches can turn a simple decoration into a cherished piece. Consider incorporating family heirlooms, such as a vintage brooch or a special ribbon that holds sentimental value. You can also customize your wreath by adding seasonal elements or text, like a welcome sign or your family name.
Think about your favorite colors or themes that resonate with you. Whether it’s earth tones that evoke tranquility or vibrant colors that spark joy, let your personality shine through in your creation. This customization process not only enhances the aesthetic appeal but also makes the wreath a reflection of your unique style and memories.
Caring for and Storing Your Wreath
To preserve the beauty of your autumn wreath, proper care and storage are essential. If you’ve used natural materials, keep your wreath in a cool, dry place to prevent deterioration. For faux elements, a light dusting with a soft cloth can maintain its appearance.
When the season comes to an end, store your wreath carefully. Consider placing it in a protective box or wrapping it in tissue paper to prevent crushing any delicate decorations. If any materials are still in good condition, think about repurposing them for future projects, giving your creativity a chance to flourish again.
Displaying Your Cozy Wreath
Once your wreath is complete, it’s time to display it proudly! The front door is a classic spot, welcoming guests with a touch of autumn charm. But don’t limit yourself; consider hanging it inside on a wall, above a fireplace, or even in a window to catch the light.
As autumn transitions to winter, you might want to rotate your decor, swapping out the wreath for something that reflects the upcoming season. Coordinate your wreath with other fall decorations, like pumpkins, candles, or seasonal table centerpieces, to create a cohesive look throughout your home.
Inspiring Others: Sharing Your Creation
Crafting can be a joyful experience, and sharing your creation can inspire others! Consider posting pictures of your beautiful wreath on social media to showcase your handiwork. You might even host a DIY wreath-making party with friends and family, encouraging everyone to express their creativity and bond over the shared experience.
Handmade wreaths make thoughtful gifts, too. Whether it’s for a neighbor, a family member, or a friend, gifting a personalized wreath can bring warmth and joy to their home, spreading the spirit of autumn far and wide.
Conclusion
As you embark on this delightful journey of crafting a cozy autumn wreath, remember that it’s not just about the final product; it’s about the experience of creating something beautiful with your own hands. Embrace your creativity, explore different styles, and enjoy the process of bringing the essence of autumn into your home. Through seasonal crafting, you not only enhance your living space but also foster a deeper connection with the changing seasons and the warmth of cherished memories.
Frequently Asked Questions
What materials are best for an autumn wreath?
The best materials for an autumn wreath include natural elements like dried leaves, pinecones, and acorns. You can also use faux decorations such as artificial leaves and berries, which can withstand the test of time. Ribbons made from burlap or fabric can add a lovely finishing touch. The key is to mix textures and colors that reflect the beauty of the season.
How long does it take to make a wreath?
The time it takes to craft a wreath can vary depending on your design and experience level. Generally, you can expect to spend anywhere from one to three hours on the project. This includes gathering materials, assembling the wreath, and adding personal touches. The most important part is to enjoy the process without rushing!
Can I use real leaves for my wreath?
Yes, you can use real leaves, but keep in mind that they may dry out over time and lose their vibrant color. If you choose to use real leaves, consider preserving them by pressing them or coating them in a sealant to maintain their appearance. Alternatively, you can mix real leaves with faux elements for a more durable wreath.
How do I store my wreath after autumn?
After the autumn season, store your wreath in a cool, dry place to prevent damage. Wrap it in tissue paper or place it in a box to avoid crushing any decorative elements. If you used natural materials, ensure they are completely dry before storage to prevent mold. You can also repurpose elements for future crafts, extending the life of your creativity.
What are some creative themes for autumn wreaths?
There are numerous creative themes you can explore for autumn wreaths. Some popular ideas include a harvest theme featuring mini pumpkins and corn, a woodland theme with twigs and moss, or a Halloween theme adorned with bats and spooky decorations. Consider your personal style and the overall decor of your home when choosing a theme that resonates with you.