
Introduction
Creating your own chrome spring accessories is a fantastic way to blend creativity with craftsmanship. These unique pieces not only serve as stunning fashion statements but also allow you to inject your personality into every design. The sleek, reflective nature of chrome springs brings an edgy, modern feel to your creations, making them a sought-after choice for DIY enthusiasts.
Personalization is at the heart of DIY projects. By crafting your own accessories, you can ensure that no two pieces are alike. This guide will help you navigate the exciting world of chrome springs, providing you with the necessary tools, techniques, and inspiration to transform your ideas into tangible art pieces. Get ready to unleash your creativity and explore the endless possibilities of unique designs, whether you’re looking for minimalist elegance or intricate flair.
“Creating a cozy reading nook is all about maximizing comfort in a small space. It’s about intentional design that serves both function and feeling.”
– Interior Design Magazine
Understanding Chrome Springs: Materials and Tools
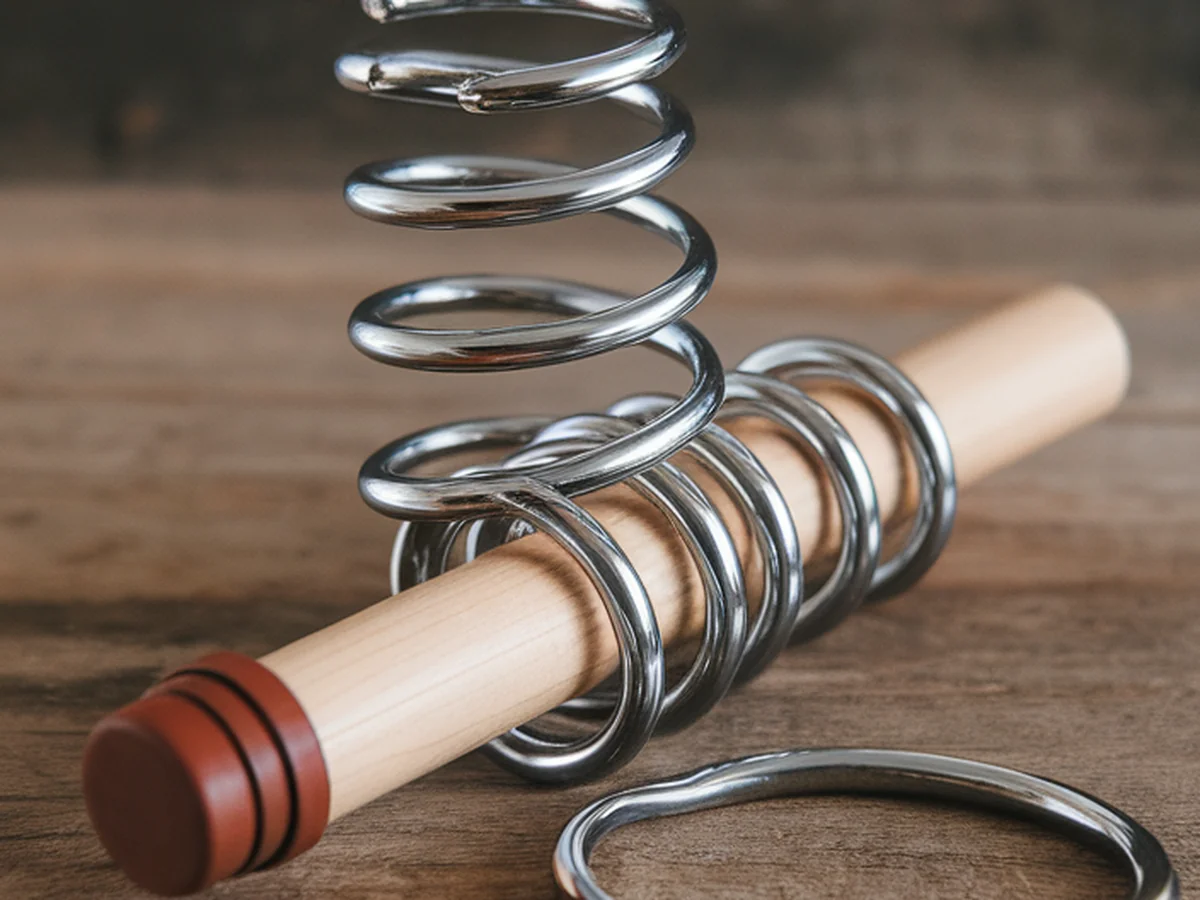
Chrome springs come in various types and sizes, each suited for different applications. Commonly used in fashion accessories, these springs are known for their resilience, flexibility, and shiny finish. The most widely used types include compression springs, extension springs, and torsion springs. Each type serves a specific purpose, from creating structural designs to adding movement in your accessories.
For your DIY projects, having the right tools is essential. Here’s a list of essential tools you’ll need:
| Tool | Purpose |
|---|---|
| Pliers | For gripping, bending, and cutting springs |
| Wire cutters | To cut springs to desired lengths |
| Ruler | For measuring and ensuring precision |
| Drill | For creating holes if needed |
| Sandpaper | To smooth edges and surfaces |
Safety is a priority when working with tools and materials. Always wear protective gear, including gloves and goggles, to prevent injuries. You can find chrome springs and other materials at local hardware stores, craft shops, or online retailers like Amazon and McMaster-Carr.
Planning Your Accessory Design
Before diving into your project, it’s essential to lay the groundwork for your design. Start by brainstorming ideas that resonate with you. Inspiration can come from various sources such as nature, fashion trends, or even architectural elements you admire. Keeping a design journal or mood board can help you gather and refine your ideas.
Once you have a concept, sketch your design. This doesn’t have to be perfect—just a simple outline to visualize your creation. If you’re a beginner, don’t worry about artistic skills; focus on the shapes and forms you want to create. Consider choosing a theme for your accessory. Do you prefer a minimalist look with clean lines, or are you drawn to intricate, layered designs?
Setting practical goals is crucial to avoid feeling overwhelmed. Determine a realistic timeline for completing your project and establish a budget for materials and tools. This planning phase will ensure you approach your DIY project with clarity and confidence.
Basic Techniques for Working with Chrome Springs
Working with chrome springs requires specific techniques to shape and manipulate them effectively. First up is cutting the springs. Use wire cutters for a clean cut, ensuring you apply steady pressure. For safety, always cut away from your body and wear protective goggles to prevent any injury from flying debris.
Shaping springs into your desired forms can be done using pliers. You can bend them gently, but remember that excessive force may cause them to lose their elasticity. If you’re joining multiple springs together, consider using metal adhesive or small connectors to ensure stability.
Finishing touches like sanding and polishing are essential for a sleek look. Sandpaper can help smooth any rough edges, and a polishing cloth will enhance the shine of your chrome springs, giving your accessory a professional finish.
Creating Statement Pieces: Step-by-Step Projects
Now that you’ve mastered some basic techniques, it’s time to create stunning statement pieces. Here’s a step-by-step guide for crafting a chrome spring necklace:
Materials Needed:
– Chrome springs (varied sizes)
– Jewelry wire
– Clasps
– Pliers
– Decorative beads (optional)
Instructions:
1. Cut the chrome springs to your desired lengths, keeping in mind the overall design.
2. Use pliers to bend the springs into shapes that complement each other. You can create spirals, loops, or any form that suits your style.
3. Thread the decorative beads onto the wire and then attach the shaped springs.
4. Secure the ends of the wire with clasps to complete the necklace.
For a unique bracelet, follow a similar approach but consider layering springs for added texture. Making earrings can be as simple as using smaller springs attached to earring hooks. Combining various accessories can create a cohesive look—experiment with matching colors and styles for a polished ensemble.
Incorporating Additional Materials
To elevate your chrome spring accessories, consider adding various embellishments. Beads, charms, and other decorative elements can bring a splash of color and personality to your designs. When selecting additional materials, think about how they will complement the chrome finish.
Using paint or coatings can also enhance the visual appeal of your accessories. Experiment with spray paint or nail polish to add vibrant colors or unique textures. For those interested in mixed media, combining chrome springs with fabric or leather can create a striking contrast in materials.
If you’re eco-conscious, consider upcycling materials you already have at home. Old jewelry pieces, scraps of fabric, or even recycled leather can be transformed into unique accents for your chrome spring designs.
Finishing and Caring for Your Chrome Springs Accessories
Once you’ve completed your accessories, it’s time to add final touches. Sealing your creations can protect them from tarnishing and wear. Look for clear sealants or sprays specifically designed for metal finishes.
Proper storage is crucial to maintaining the shine and form of your accessories. Store them in a dry, cool place, ideally in a lined jewelry box or a soft pouch that prevents scratching. Cleaning your chrome springs is simple; use a soft cloth to remove any dirt or fingerprints.
Should your accessory break, don’t panic! Common issues like loose springs or broken clasps can often be fixed with a little bit of glue or by re-threading. Learning to repair your creations will extend their lifespan and enhance your skills.
Showcasing Your Unique Creations
Once you’ve crafted your chrome spring accessories, it’s time to show them off! Photography plays a significant role in sharing your designs on social media. Natural lighting works best to capture the shine of chrome, so consider shooting outdoors or near a window. Use simple backgrounds to ensure your creations stand out.
Don’t hesitate to share your designs within DIY communities and forums. Engaging with others can provide you with valuable feedback, inspiration, and even opportunities for collaboration. Hosting an accessory swap or DIY workshop can be a fun way to connect with fellow enthusiasts, allowing you to trade ideas and materials.
If you find that your hobby has grown into a passion, consider turning it into a small business. Selling your creations at local craft fairs or online platforms like Etsy can be rewarding. However, be aware of the commitment and challenges that come with running a small business, such as marketing and inventory management.
Inspiration from Other DIY Enthusiasts
The DIY community is vast and filled with talented individuals who share their unique styles and stories. Look for popular designers who focus on chrome springs, and explore their techniques and aesthetics. You can find countless tutorials and videos online that showcase various approaches to working with chrome springs.
User-generated content is another fantastic source of inspiration. Many DIYers document their journey, sharing successes and challenges alike. Learning from their experiences can help you overcome your own obstacles and inspire you to try new techniques.
Collaboration is key in the DIY world. Don’t hesitate to reach out to fellow creators for ideas or advice. Engaging with others can lead to innovative designs and techniques that you may not have considered before.
Conclusion
Your creative journey from idea to finished product can be incredibly fulfilling. As you explore the world of chrome springs and DIY accessories, remember that each piece you create is a reflection of your unique style and personality. Don’t be afraid to experiment, refine your skills, and push the boundaries of your creativity.
We invite you to share your designs and experiences with the community. Whether you’re a seasoned DIYer or just starting, your journey can inspire others. So, why wait? Start your DIY project today and dive into the endless possibilities that await!
Frequently Asked Questions
What types of chrome springs are best for accessories?
When choosing chrome springs for accessories, compression and extension springs are popular choices. Compression springs are great for creating structural designs, while extension springs can add movement and flexibility. Consider the aesthetic and functional needs of your project when selecting the right type.
Can I paint chrome springs?
Yes, you can paint chrome springs to achieve the desired color or finish. Use paint specifically designed for metal surfaces for the best results. Spray paint or acrylic paints can provide vibrant colors, but ensure that the paint is fully dry before using the springs in your accessories.
How do I prevent my chrome spring accessories from tarnishing?
To prevent tarnishing, consider sealing your chrome spring creations with a clear sealant designed for metal. Additionally, storing your accessories in a dry, cool place and using anti-tarnish pouches can further protect them from oxidation and wear.
What are the best storage solutions for handmade accessories?
The best storage solutions for handmade accessories include jewelry boxes with compartments, soft pouches, and display cases. Ensure that your storage option keeps your accessories organized and protected from scratches, dust, and moisture.
How can I sell my DIY accessories online?
To sell your DIY accessories online, consider creating an account on platforms like Etsy or eBay. You can also build your own website or use social media to market your products. Make sure to take high-quality photos, write engaging descriptions, and promote your creations through social channels to attract potential buyers.